Using Starter Applications
The starter applications and sample Projects are a quick and easy way to begin using the alwaysAI platform after you set up your development computer.
You can add create a sample Project via your Dashboard or the CLI.
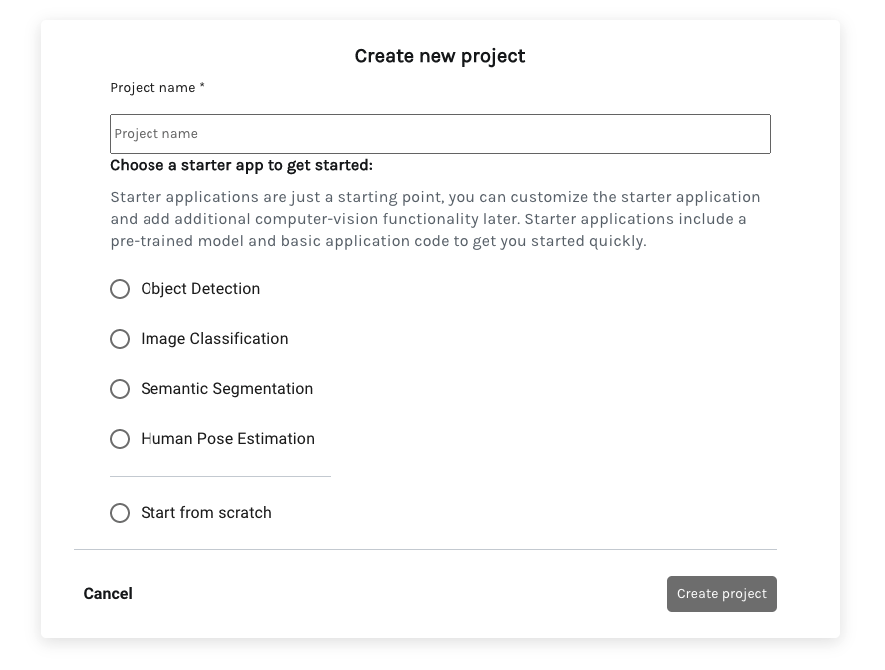
To create a starter application Project on web, go to the Project view in your Dashboard. Select the red ‘+ New Project’ button to launch a Create New Project wizard.

Name your project, select a category, and select “Create Project” and follow the prompts.

Note: If you choose 'Start from scratch', the Project will simply contain file stubs, which you can then fill out as described in the Working with Projects documentation.
On the resulting screen, you should see a message that your new Project was created; click the Project name to view it on your Dashboard. The new sample project will now be available and include everything you need to run it on your Development Computer.
To create a starter application Project with the CLI, create an empty directory and open a terminal inside the directory. Then run:
$ aai app configure
and follow the prompts to create a new project, name your project, and select the starter app to base it on. Once the command completes the source and configuration files will be available in the directory.
Now you can simply configure and run your application as usual!